Modified of Pi-Star OS (D-STAR Pi-Star OS의 수정)
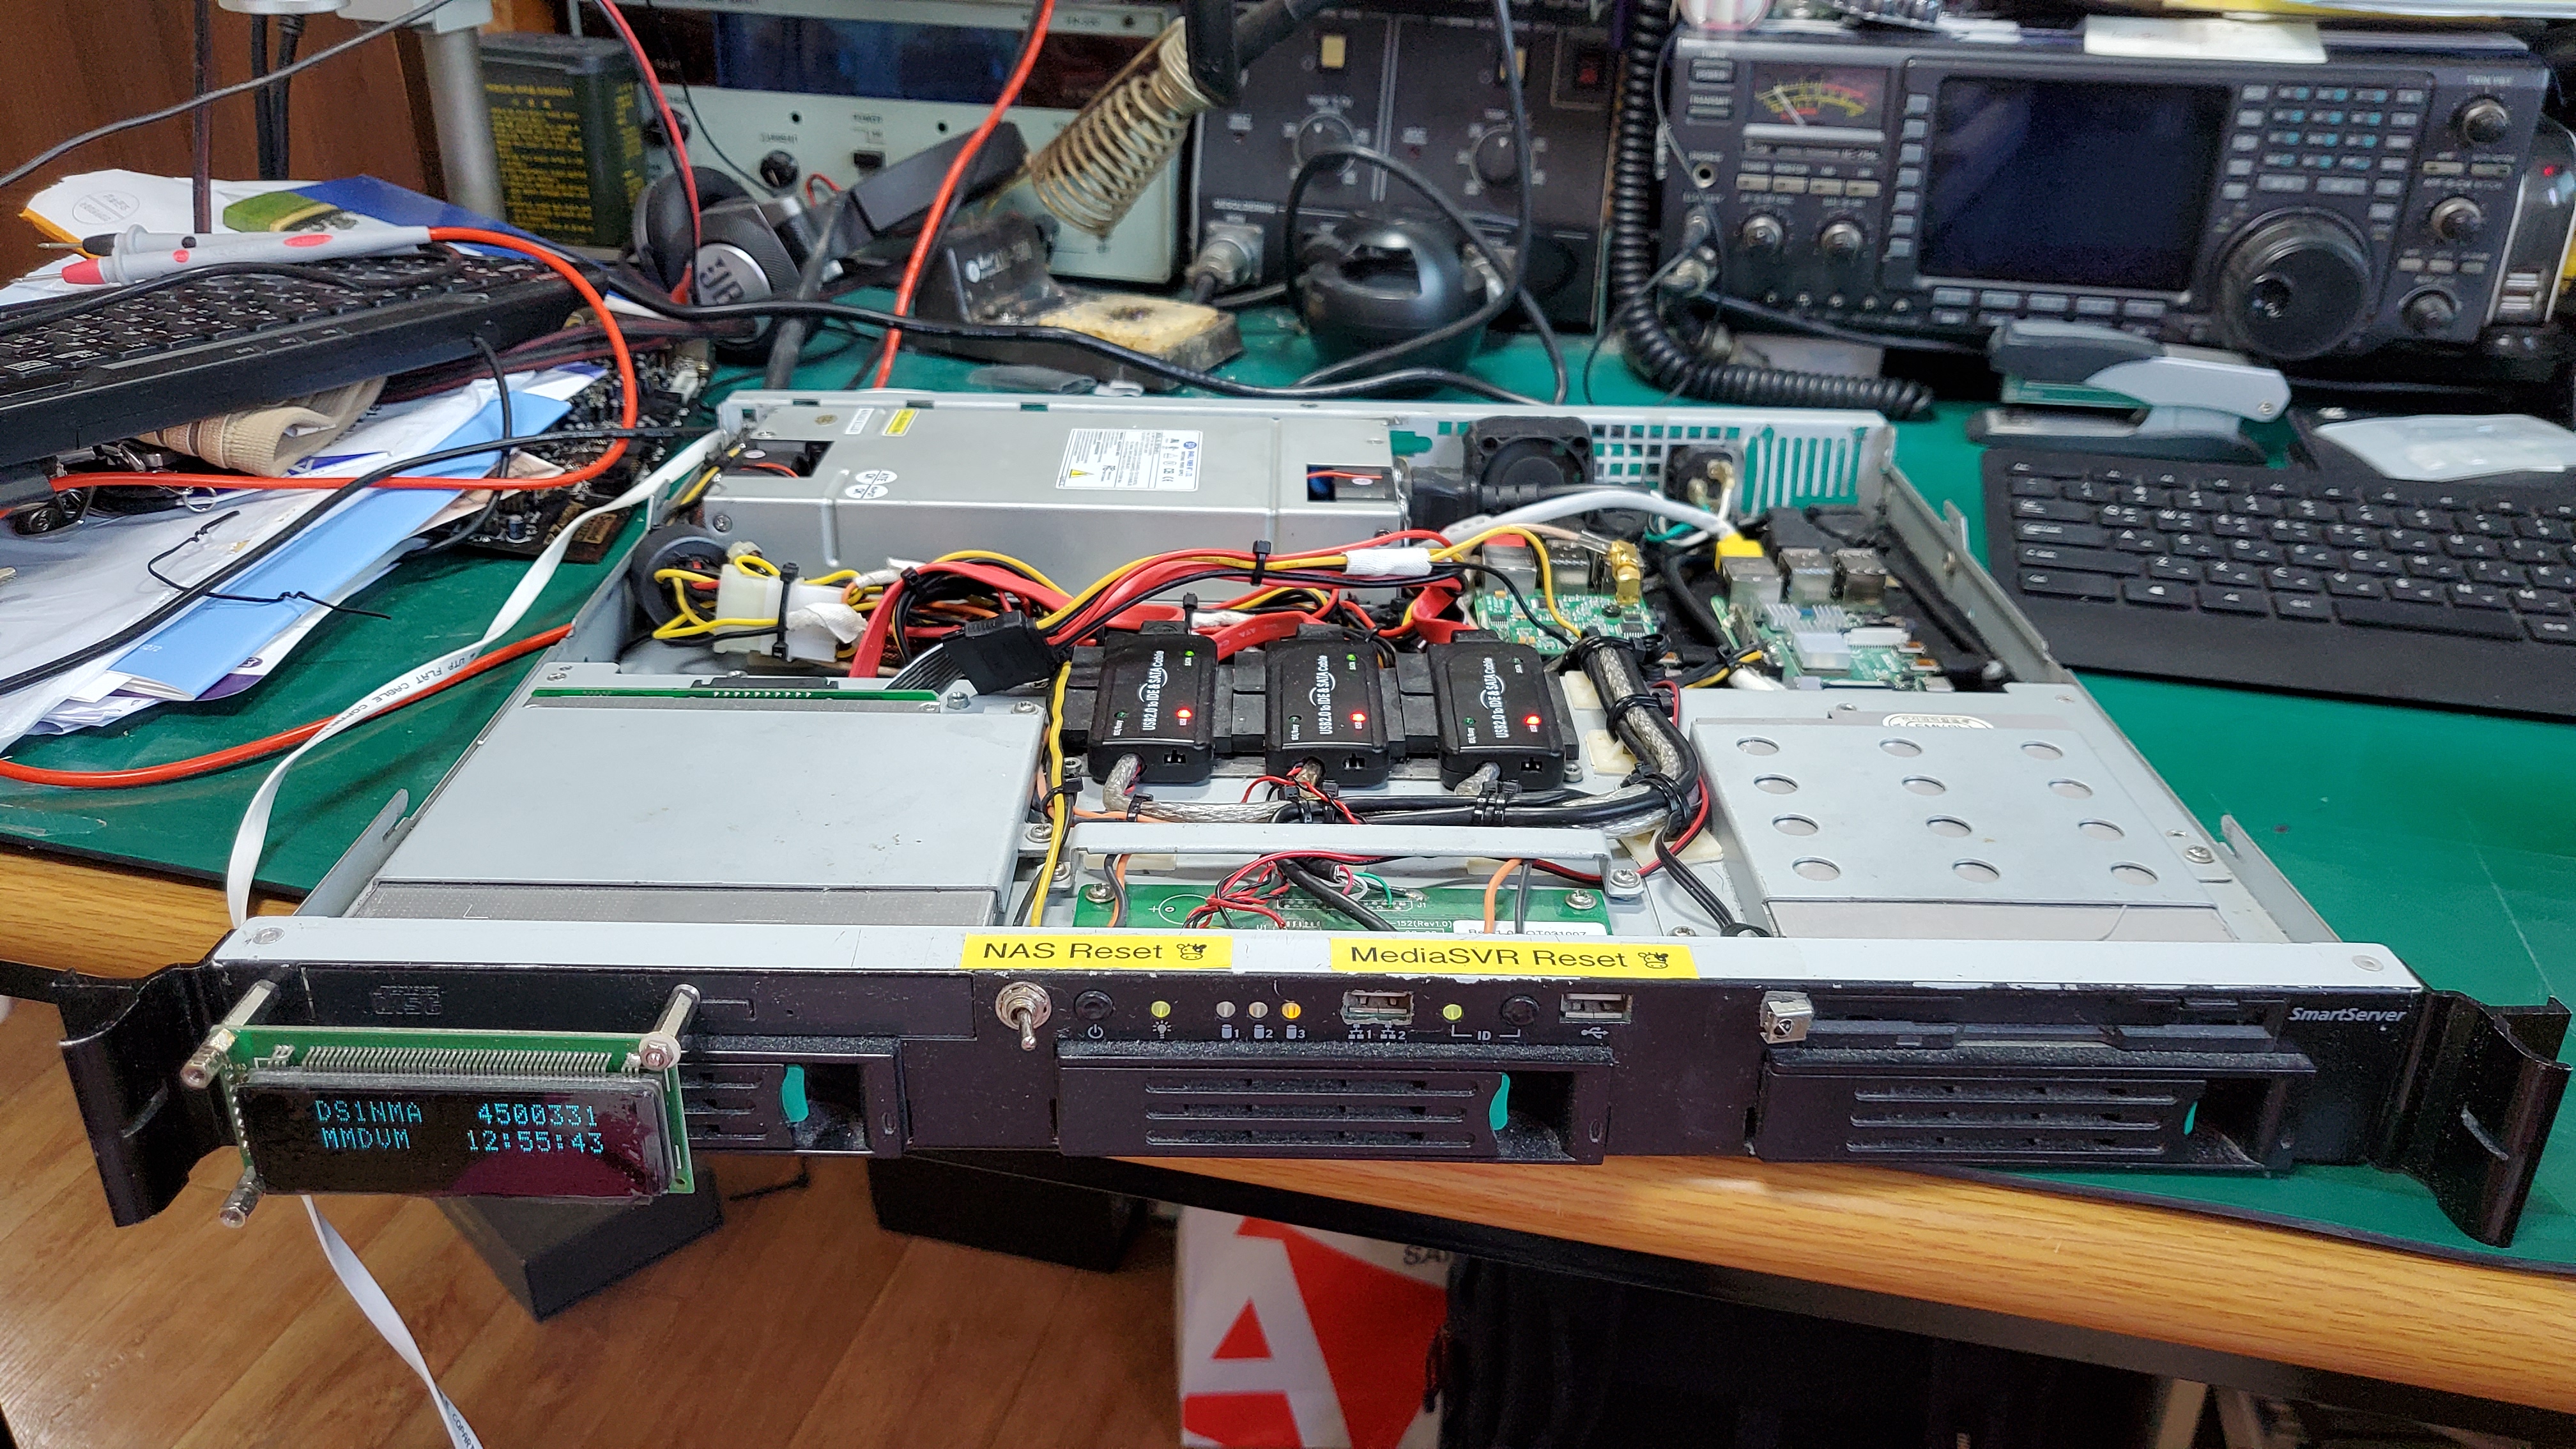
몇 달 전, Hotspot 및 Service Server로 사용하던 Raspberry PI 3의 OS가 포함된 SD카드가 박살나는 사태가 벌어졌다.
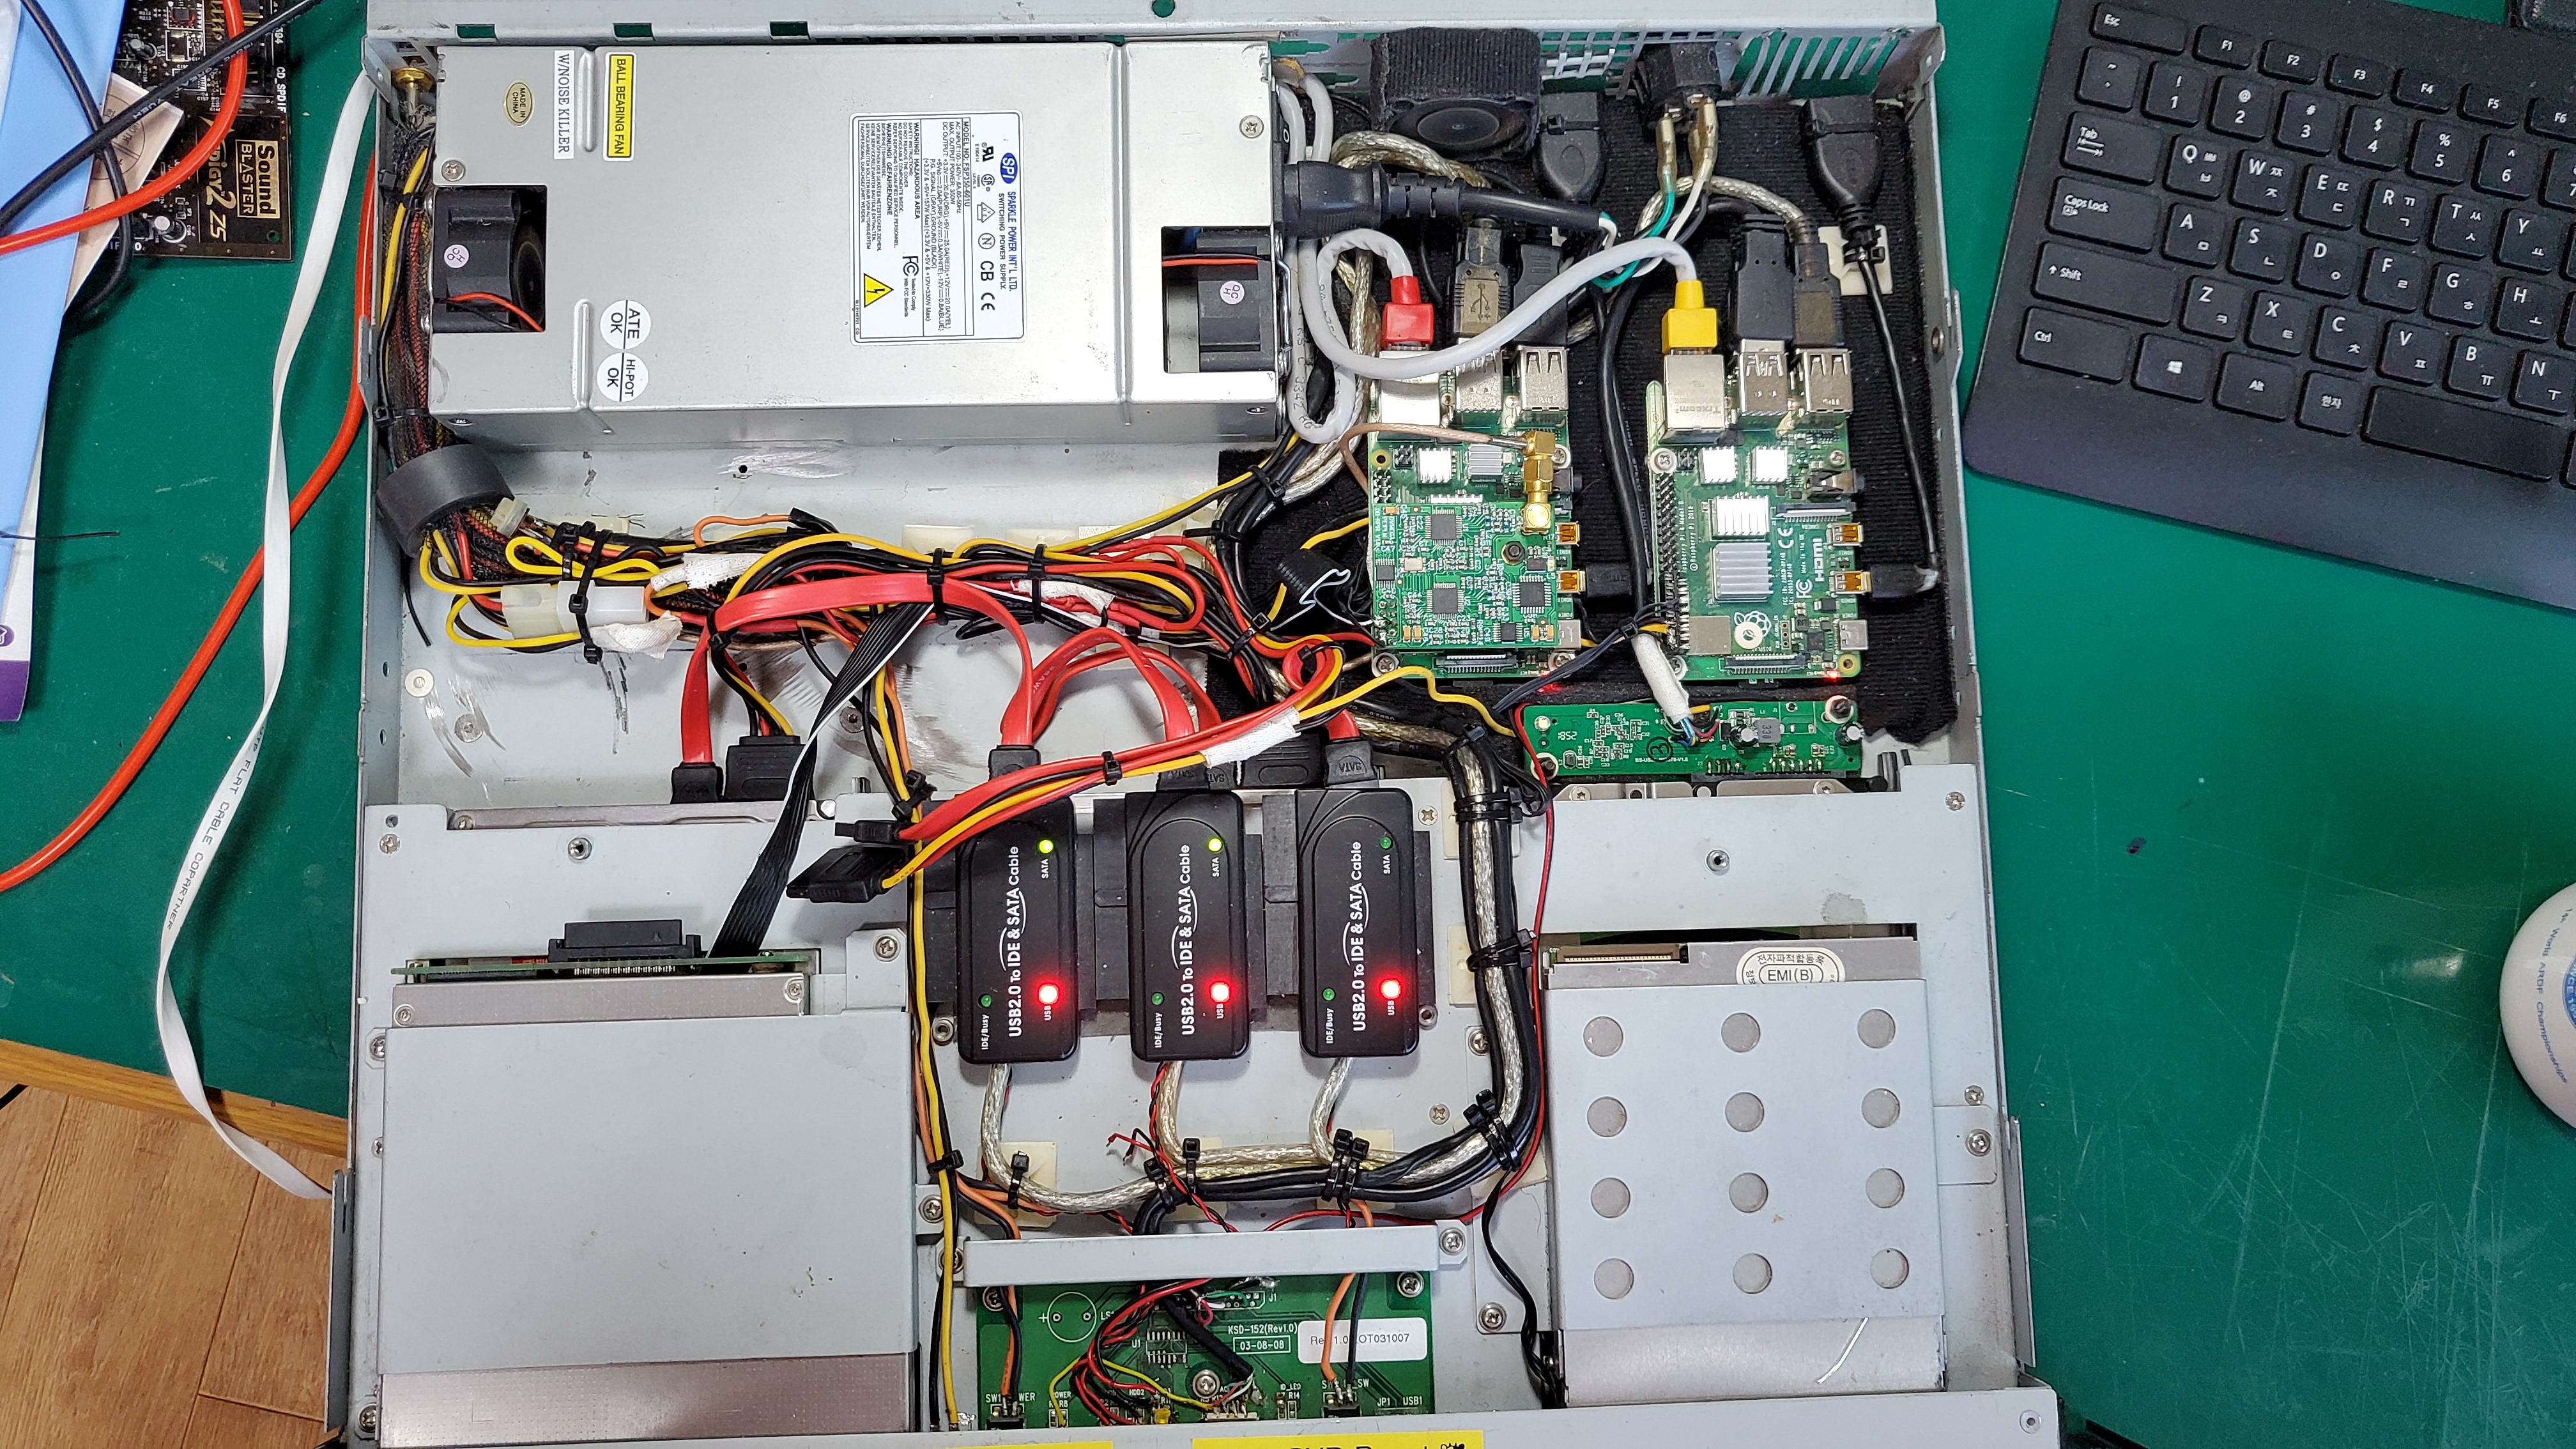
Raspbian streach 기반에다가 MMDVMHost, ircddbgateway를 어렵게 설치하고 apache2, php7.1, apache tomcat 8.5, samba 등 여러 서비스를 잘 돌리고 있었는데 결국은 그렇게 되었고 이 참에 H/W도 Raspberry Pi 4 4GB 모델로 교체 및 새로운 메모리에 OS를 올리고 다시 수동으로 설치하려 하였으나 MMDVMHost와 IRCDDBGateway, DstarRepeater 등 D-Star HotSpot에 필요한 S/W의 repository가 모두 죽어서 apt-get이나 deb 패키지로 설치할 수 없어졌다.
모 D-STAR 유저그룹 카페에 문의를 하였으나, 어떤 분이 어려운길을 갈려고 한다고 비아냥(?) 비슷한 댓글을 달아놓으시면서 본인이 가르쳐 주겠다고 메일주소를 보내라 하셔서 답신을 드렸으나 6개월째 깜깜 무소식이라는.....
(이상하게 뭐좀 잘 안다는 아마추어무선사는 .. 공유정신이 부족하다는 생각이 듬...)
Pi-Star는 내가 휴대용으로 쓰는 HotSpot의 전용OS로는 이미 쓰고 있었는데, 이건 본래 기능 외에 Samba, apache2 등 다른 기능은 일절 세팅이 어렵게 만들어져서 솔직히 내 입맛에는 맞지 않았었으나..
마침 심근경색 치료 및 퇴원 후 요양중 시간이 좀 남아서 PI-Star OS를 역으로 풀어내는 방법을 찾아보았고, 제작자인 MW0Andy Taylor (MW0MWZ)가 여기저기 modify를 하면서 lock 걸어놓은 것들을 하나하나 찾아 unlock 하고 그가 modify하면서 잘못 install된 부분도 debian repository standard로 교체하면서 내 입맛에 맞도록 사용하게 다시 Modify하게 되었다.
참고로 Pi-Star를 500MHz 짜리의 Raspberry Pi Zero(ZumSpot과 쌍을 이루기 위한)에서 돌릴 때보다는 Raspberry PI 4 4GB 버전이 dashboard 및 setting change 후 refresh 하는 속도가 엄청 빠르다. (거의 바로바로, 서비스 재기동이 빨라서)
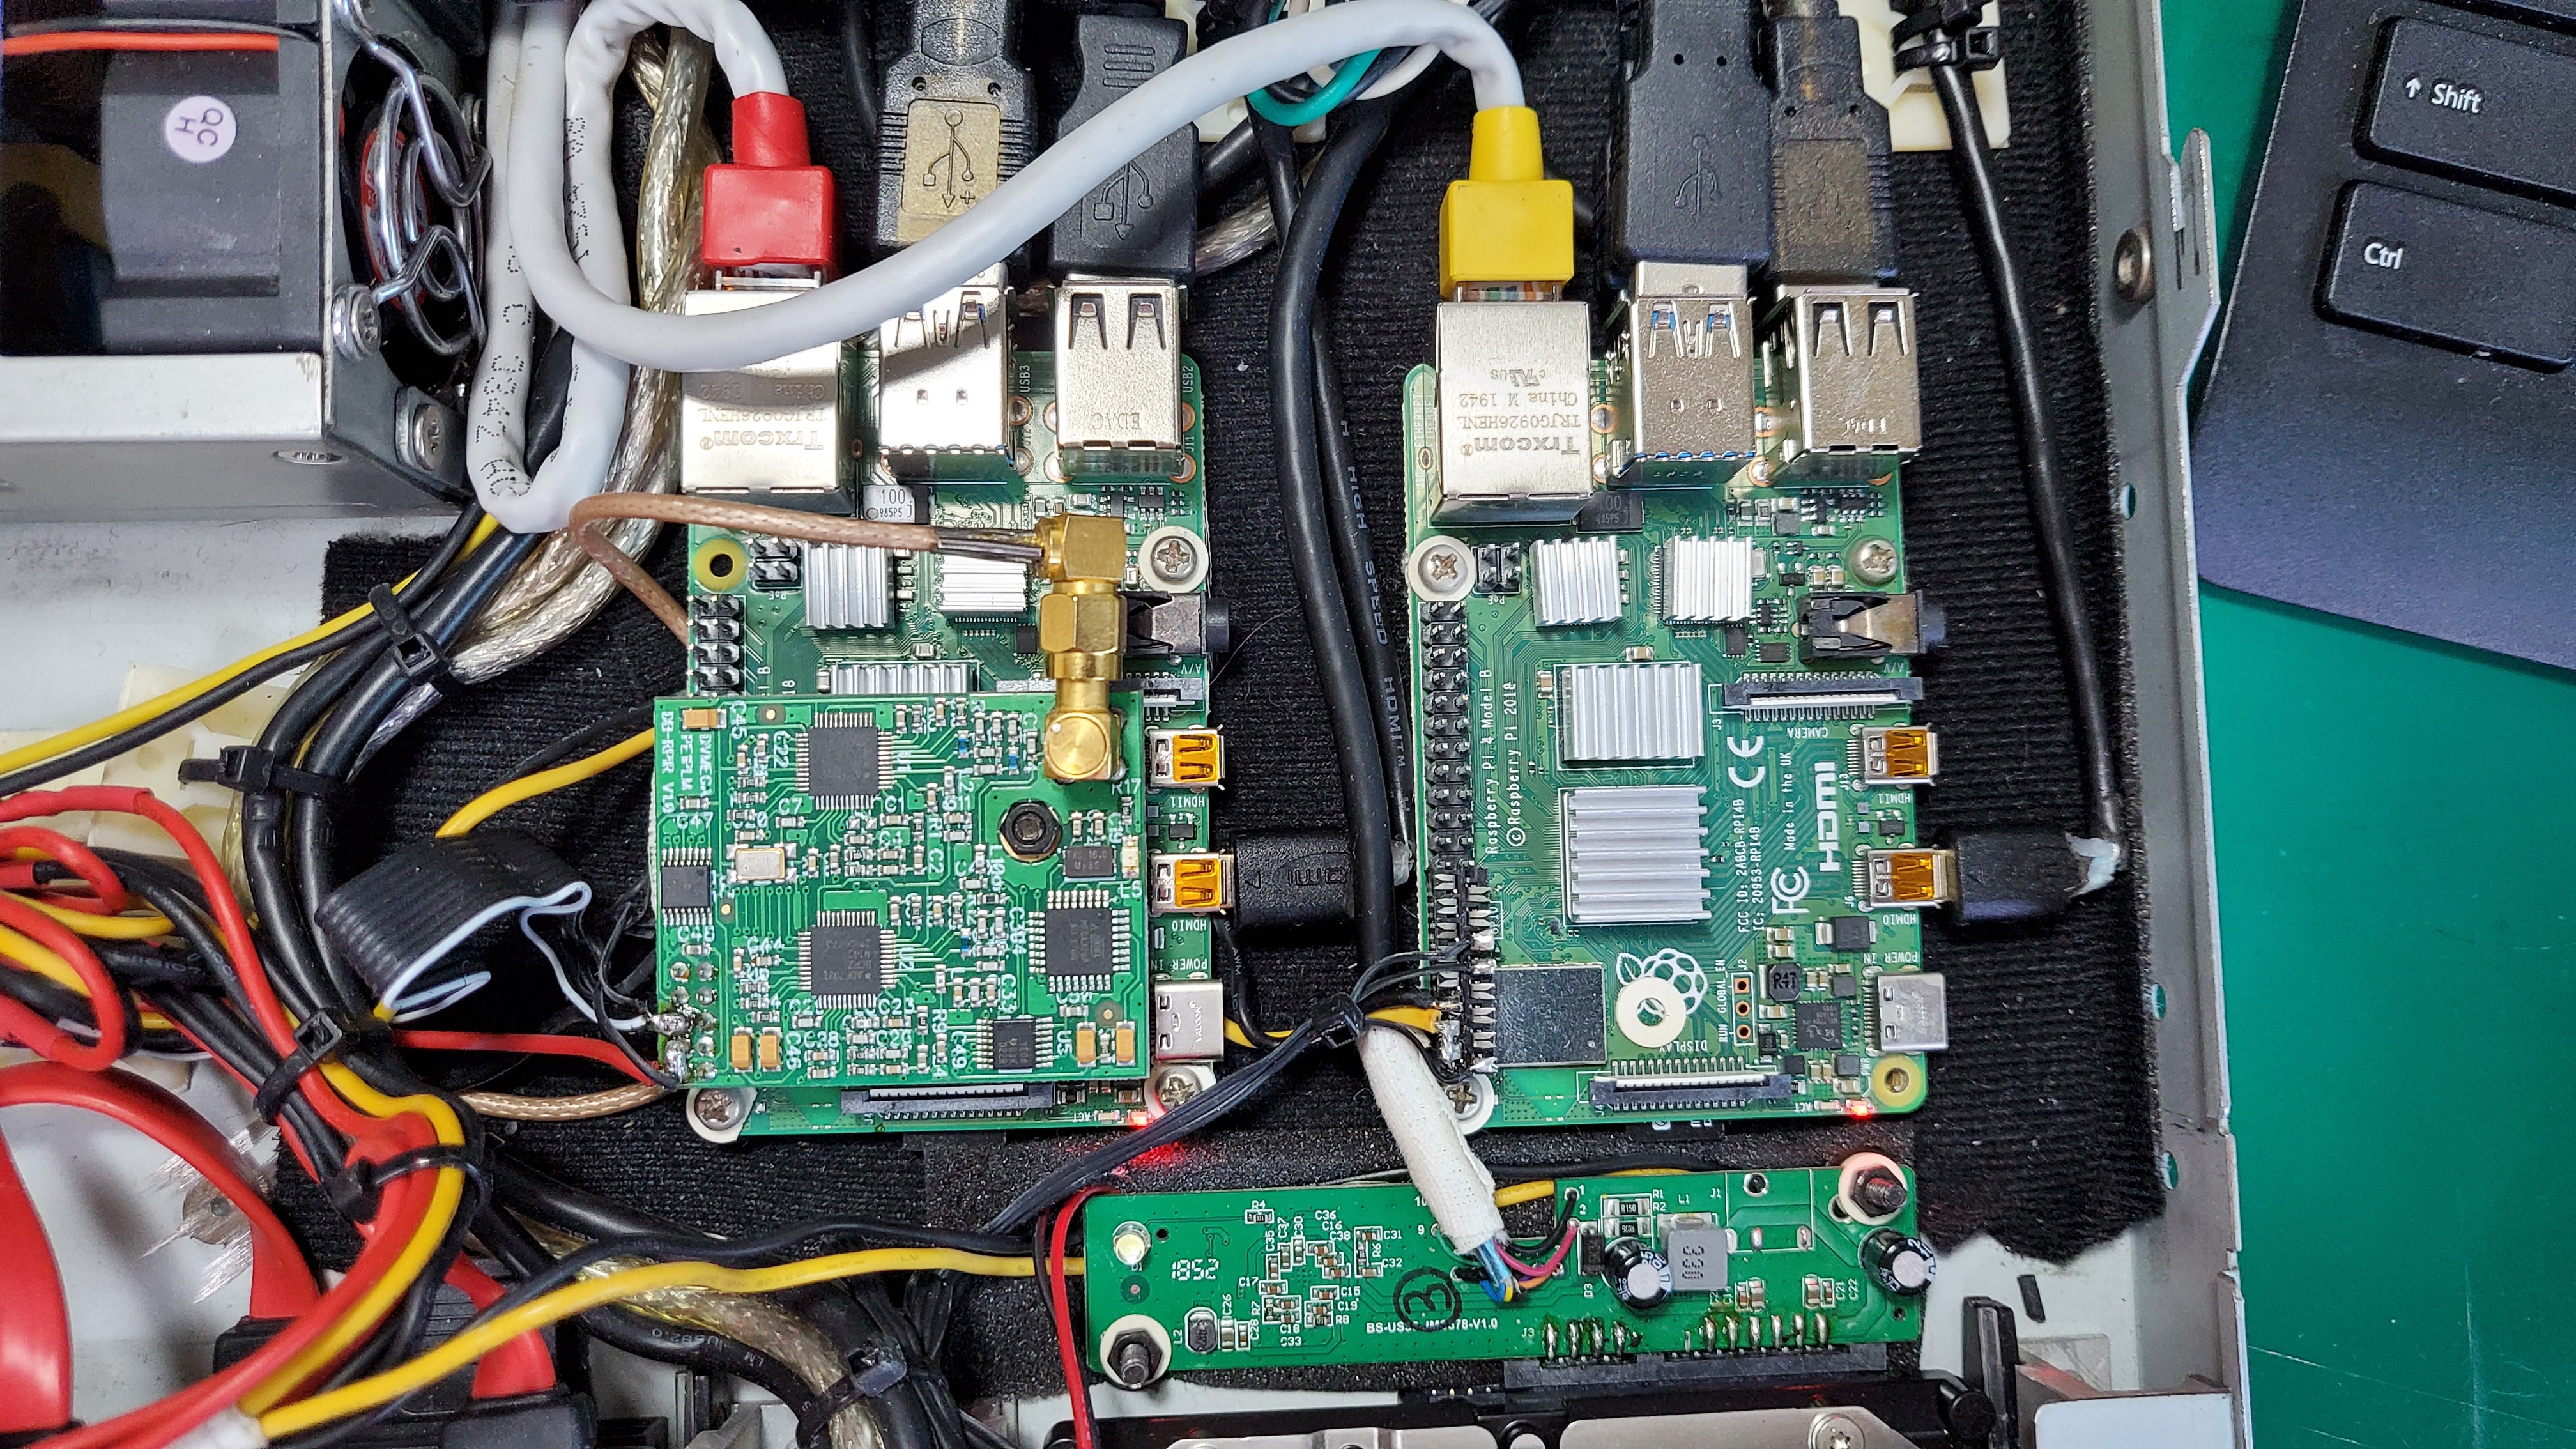
나는 raspberry pi 4를 raspbian base에 도메인과 DDNS를 이용한 연결이 필요하기 때문에 고정IP 세팅을 해야 하며, 속도로 인해 WiFi connection이 전혀 필요치 않고 Wired network이 필요하다. 또한 Samba를 이용한 NAS, apache2 및 php7.3으로의 웹서버, Pydio Disk server, postfix 및 roundcube를 사용한 Mail Server가 반드시 필요하다.
아래는 pi-star 4.1 버전 이상(buster based)에서 작업한 사항이다.
1. Image write to SD Card
2. Log-in pi-star account on SSH
3. sudo su - root
4. rpi-rw
[Static IP on eth0 - internal wired network]
/etc/dhcpcd.conf
insert this value
interface eth0
static ip_address=10.10.86.10/24
static routers=10.10.86.254
static domain_name_servers=10.10.86.254 8.8.8.8 8.8.4.4
[read only and temp partition disable]
1. sudo su - root
2. rpi-rw
3. nano /etc/fstab
4. /dev/mmcblk0p1 and /dev/mmcblk0p2 change option "ro" to "rw"
5. insert remark all mounted value "tmpfs".
6. save and reboot
[RAID Install]
1. sudo su - root
2. rpi-rw
3. apt-get update
4. apt-get install mdadm
5. mdadm --create --verbose /dev/md0 --level=0 --raid-devices=2 /dev/sda /dev/sdb - create raid partition.
6. mkdir /media/exDrive1
7. mount /dev/md0 /media/exDrive1
8. blkid - check UUID of created and mounted raid volume
9. insert UUID and mount directory to /etc/fstab
ex) UUID="c593a5ec-c103-414a-b93b-e154527420b3" /media/exDrive1 ext4 defaults,noatime,rw 0 0
10. reboot
[root enable]
1. sudo su - root
2. rpi-rw
3. passwd root --> input password
4. /etc/ssh/sshd.conf --> permitrootlogin NO to YES
[Samba install]
Must erase and purge installed samba service.
1. sudo su - root
2. rpi-rw
3. apt-get update
4. apt-get purge samba samba-common smbclient
5. rm -rf /etc/samba
6. apt-get upgrade
7. apt-get install samba samba-common smbclient
8. change /etc/samba/smb.conf
insert this value
[global]
wins support = yes
[NASData]
path=/media/exDrive1/NASData
browseable=Yes
writeable=Yes
only guest=no
guest ok = no
create mask=0777
directory mask=0777
public=no
and another share directory disable.
9. systemctl restart smbd
[port change default Nginx webserver - pi-star dashboard]
change value /etc/nginx/sites-enabled/pi-star
1. root login
2. nano /etc/nginx/sites-enabled/pi-star
server {
listen 80 default_server; --> listen 8080 default_server;
3. nano /etc/nginx/sites-enabled/capidate-portal
server {
listen 80; --> listen 8080;
4. change port number you want
5. systemctl restart nginx
6. check connect modified port.
[Expand root partition]
※ pi-star is made only 2GB of root partition size. As default, You can't expand root partition.
If the root partition free space is shortage, You can't install any program. apt-get can't install it.
1. root login
2. check the space. (more space 3MB)
3. apt-get update
4. apt-get install raspi-config
5. raspi-config
6. ask account, please input pi-star. It's not pi.
7. select "7. Advanced Option"
8. select "A1.Expand Filesystem"
9. quit raspi-config
10. reboot
11. after reboot, type "df -h". You will be look expanded root patition.
[install apache2]
1. root login
2. apt-get install apache2
3. ps -ef | grep apache2
root@ds1nma-dstar(rw):~# ps -ef | grep apache2
root 4772 1 0 20:35 ? 00:00:00 /usr/sbin/apache2 -k start
www-data 4773 4772 0 20:35 ? 00:00:00 /usr/sbin/apache2 -k start
www-data 4774 4772 0 20:35 ? 00:00:00 /usr/sbin/apache2 -k start
root 5036 3654 0 20:36 pts/0 00:00:00 grep --color=auto apache2
4. It's ok.
[upgrade php7.0 to php7.3]
* pi-star is already installed php7.0. But I need php 7.3
1. root login
2. apt-get purge php*
3. apt-get update && apt-get upgrade
4. apt-get install php php-common
5. apt-get install php-cli php-fpm php-json php-mysql php-zip php-gd php-mbstring php-curl php-xml php-pear php-bcmath
6. nano /etc/nginx/default.d/php.conf
fastcgi_pass unix:/var/run/php/php7.0-fpm.sock --> php7.3-fpm.sock
7. apt -y install libapache2-mod-php
8. a2enmod php7.3
9. systemctl restart apache2
[Install MariaDB]
1. root login
2. apt -y install mariadb-server mariadb-client
[change account and password of pi-star dashboard]
1. /var/www/.htpasswd - account id : password
2. password change only dashboard. encoded.
3. show id on dashboard - configure.php
<form id="adminPassForm" action="<?php echo htmlspecialchars($_SERVER["PHP_SELF"]); ?>" method="post">
<table>
<tr><th width="200"><?php echo $lang['user'];?></th><th colspan="3"><?php echo $lang['password'];?></th></tr>
<tr>
<td align="left"><b>naraymm</b></td>
<td align="left"><label for="pass1">Password:</label><input type="password" name="adminPassword" id="pass1" onkeyup="checkPass(); return false;" size="20" />
<label for="pass2">Confirm Password:</label><input type="password" name="adminPassword" id="pass2" onkeyup="checkPass(); return false;" />
<br /><span id="confirmMessage" class="confirmMessage"></span></td>
<td align="right"><input type="button" id="submitpwd" value="<?php echo $lang['set_password'];?>" onclick="submitPassform()" disabled="disabled" /></td>
</tr>
<tr><td colspan="3"><b>WARNING:</b> This changes the password for this admin page<br />AND the "pi-star" SSH account</td></tr>
</table>
</form>
[MMDVM recompile for solve HD44780 LCD not show]
* pi-star에 포함된 MMDVMHost를 사용해서는 HD44780 LCD가 동작하지 않는다. 새로 컴파일 하고 실행파일을 교체해야 한다.
replaced the MMDVMHost file wit a new one made like this.
1. cd ~
2. git clone https://github.com/g4klx/MMDVMHost.git
3. cd MMDVMHost
4. make clean
5. make -f Makefile.Pi.HD44780
6. rm /usr/local/bin/MMDVMHost
7. cp ./MMDVMHost /usr/local/bin/MMDVMHost (replace complied MMDVMHost)
8. reboot
